Your first vessel in 10 minutes
This guide takes you from a blank UE5 project to driving a powerboat across an ocean, in about ten minutes, without authoring any custom assets. Everything you need ships with DRW. After this you’ll be ready for the Hull Approximation guide where you bring your own boat.
Prerequisites
Section titled “Prerequisites”- Unreal Engine 5.4 or newer.
- Dynamic Real Water installed in your project.
- A new or existing UE5 project: empty or with default content is fine.
Walkthrough
Section titled “Walkthrough”-
Open the demo level first:
Plugins/DynamicRealWater/Content/Maps/ExampleMap. Press play. Confirm you have an ocean and a flying drone with WASD movement. If anything is off here, your install is the problem; fix that before continuing. -
Create or open your own level. A blank level with default sky, directional light, skylight, and exponential height fog is enough.
-
Drag
BP_DynamicRealWaterfromPlugins/DynamicRealWater/Content/Blueprints/into the level. The ocean appears immediately. Save the level so you can reopen it cleanly. -
Set the GameMode so you spawn as a drone instead of a default pawn. Open Project Settings → Maps & Modes → Default GameMode and set it to
BP_DRWGameMode. Alternatively, set it as a level override in World Settings → GameMode Override. -
Press Play. You’re now flying as the drone. Default controls:
- WASD: move
- E / Q: up / down
- Shift: sprint
- Mouse: look
- 1 / 2 / 3: switch wave presets (small / medium / high)
Get a feel for the wave switching. Each preset is a
WaveDataAssetand the drone blends between them over a few seconds. -
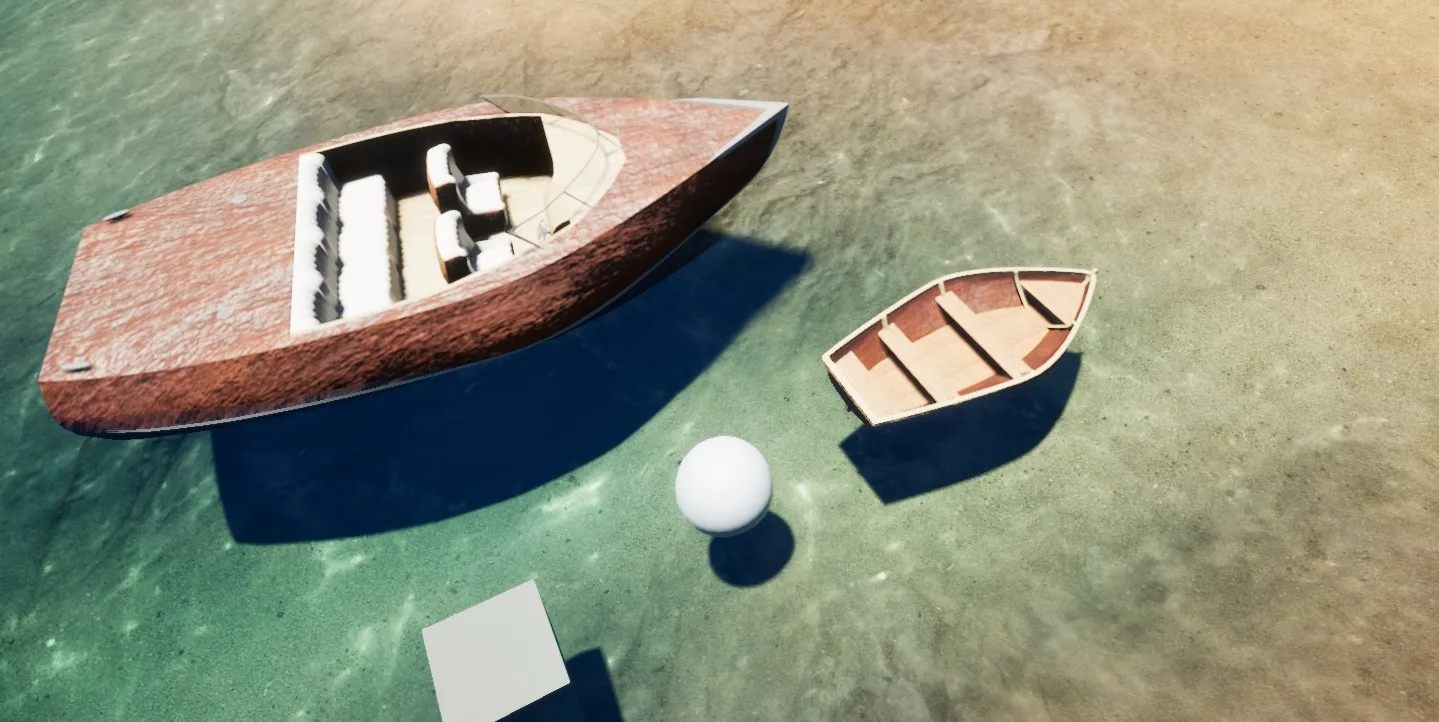
Stop. Drop a vessel. Drag
BP_RunaboutfromPlugins/DynamicRealWater/Content/Blueprints/Pawn/Vessels/Runabout/into the level near where the drone spawns. Place it sitting in the water (Z near 0 is fine: buoyancy will resolve it). -
Press Play. Possess the vessel. Fly the drone within roughly five metres of the runabout and press F. The drone disappears, your view is now in the boat’s helm camera, and you’re driving.
- W / S: throttle
- A / D: steering
- Mouse: camera look
- Scroll: camera zoom
- F: exit (returns you to the drone)
-
Try a second vessel. Stop play, drop a
BP_Dinghysomewhere nearby (.../Pawn/Vessels/Dinghy/). Restart play. The dinghy feels different: smaller hull, slower planing, more roll. Both vessels share the same possession path. -
Optional: drop a discrete water body. Drag a
BP_DRW_Poolinto the level near the runabout and resize it to a realistic size (Width / Length 1000–3000 cm, Depth 200 cm). Drive into it. The pool is a separate water body: it has its own visuals, ripples, and boundary mask. -
Save and reopen. Confirm everything persists. You now have a working DRW scene with two possessable vessels and a discrete water body, in your own project.
What you actually did
Section titled “What you actually did”- Confirmed the plugin runs end-to-end with the bundled demo map.
- Used
BP_DynamicRealWater: the drop-in ocean: as your level’s water source. - Used
BP_DRWGameModeto wireBP_Droneas the default pawn, giving you a free flying camera with built-in vessel possession. - Possessed two reference vessels via the F-key plumbing on the drone.
- (Optionally) dropped a
BP_DRW_Poolto see how discrete water bodies coexist with the ocean.
Zero custom asset authoring was required. Everything you used ships with the plugin and is yours to study, copy, and modify.
Where to next
Section titled “Where to next”You have three natural directions from here:
- Bring your own boat: swap
BP_Runabout’s mesh for your own and re-tune the buoyancy shapes. Read the Hull Approximation guide. - Author a new ocean look: clone
DA_DefaultWavesandDA_DefaultVisual, tune them, and switch to your custom preset at runtime. See Choosing a wave spectrum. - Make it multiplayer: see Multiplayer model for what’s already wired and what to verify.